
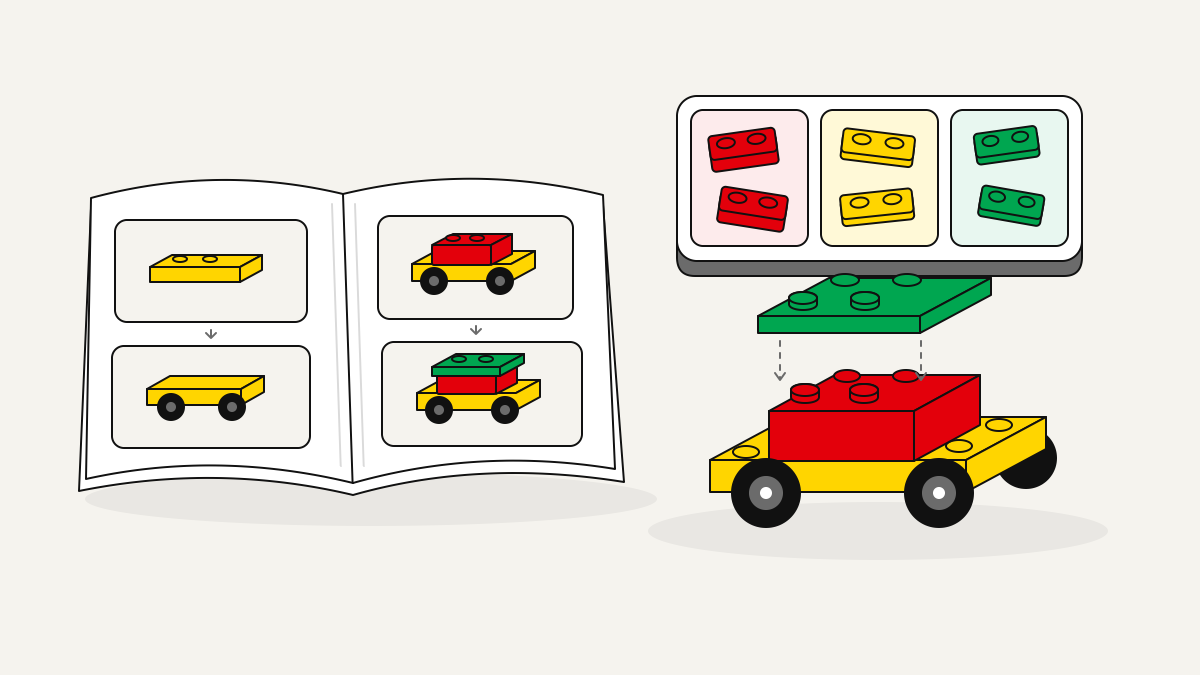
Choose from 106 free real-part sets, ranging from a 208-piece tow truck to a 170,765-piece miniature metropolis. Each has a rotatable 3D model, step-by-step instructions, per-step parts lists and a layer map showing where each part goes.
Find a free real-part build to follow
The real-part collection has 106 brick-built models. They range from a 208-piece tow truck to a 170,765-piece miniature metropolis, a city built at small scale. All are free to open and build using real standard parts. You can browse BrickLab’s collection by the kind of model you want to build:
| Category | Set count | Browsing destination |
|---|---|---|
| Landmarks | 26 | Landmarks in the real-part collection |
| Buildings | 45 | Buildings in the real-part collection |
| Vehicles | 27 | Vehicles in the real-part collection |
| Objects | 8 | Objects in the real-part collection |
The category helps you choose a subject from that wide range of sizes. Each model’s build page tells you what you’ll need to build it. Before setting aside your parts, check its piece count, steps and height in cm. The footprint tells you how much space its base takes up, measured in studs, the bumps on bricks.
How to follow MOC instructions
Each step has a parts list showing what you need and a placement map showing where it goes. MOC means My Own Creation; the instructions break that custom design down into an assembly you can follow.
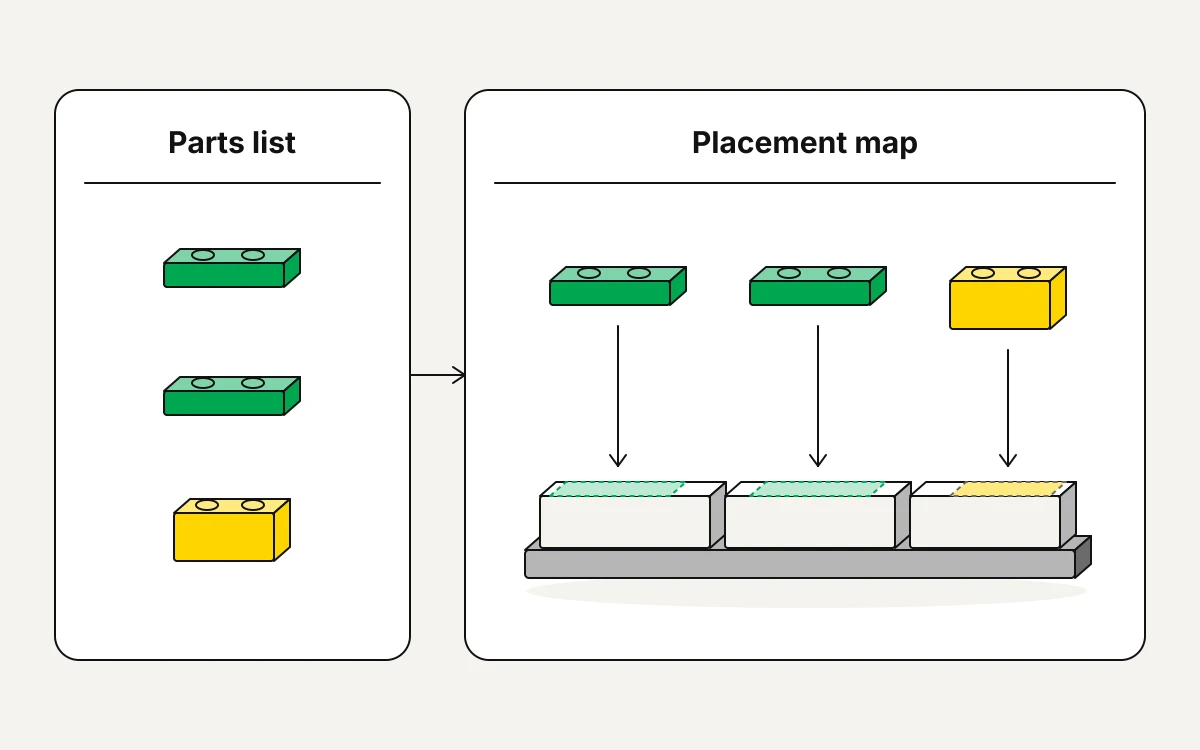
- Gather the parts for the current step and keep them separate from your remaining stock. This makes it easier to match each piece to its position.
- The layer map shows where each part goes. Match those positions to the assembly you have already built.
- Before placing parts, rotate the 3D model until the orientation and shown connections are clear. Use that view to reproduce the arrangement with your pieces.
- Compare your assembly with the current step’s map and 3D view before moving on. Any misplaced or reversed parts need correcting before you add the next group.
Choose a build you can prepare for
A brick-built model needs to fit both your display space and your parts collection. Its piece count, step count, height in cm and footprint in studs give you a starting point. Compare the footprint with your available surface and the height with the clearance beneath any shelf above it.
Read the piece count and step count together. Pieces tell you how many parts to gather; steps tell you how many stages the guide contains. Neither alone predicts building time.
Before ordering parts or choosing substitutions, check how many pieces you need in each colour. You may have a colour in several shapes yet still lack the particular bricks or plates the model needs. Checking your stock means matching both shape and colour.
For unfamiliar shapes, our 3D parts library shows every brick, plate, tile, slope and round with its specifications and the builds that use it. You can turn the part to get a clearer view of its shape, then compare its specifications with the part you plan to use.