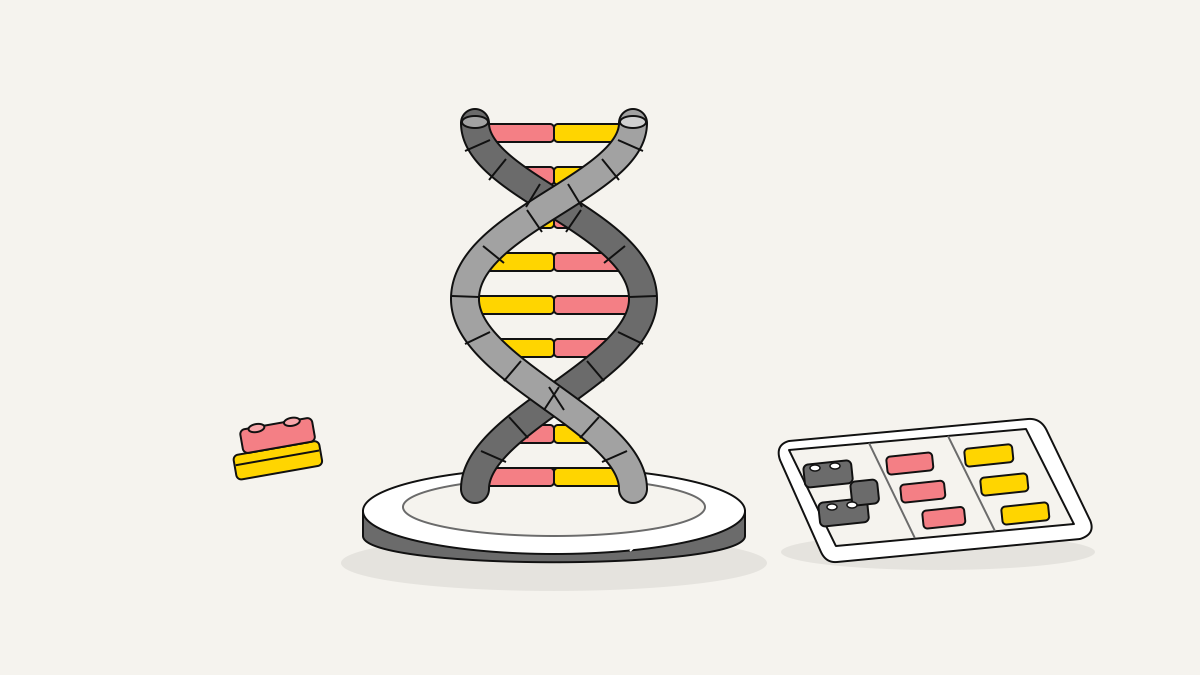
A 3D DNA bricks model can be a physical brick-built model. It can also be a molecular structure made from synthetic DNA strands: DNA made in a lab. For your MOC, or own creation, first decide what you want to show. You could build DNA itself, or the structures scientists make from DNA building blocks. The strands join together in a process called DNA-brick self-assembly.
These molecular building blocks differ from standard building parts. A molecular cube helps make the scale clear before you choose parts. That gives you a clear subject to build. DNA-brick structures are not all double helices, the twisted ladder shape of DNA.
How molecular DNA bricks differ from building parts
Synthetic DNA strands bind to one another. A physical brick-built model needs standard parts that fit together and hold each other in place. This is the main difference between molecular self-assembly, where strands join themselves, and building by hand.
In DNA-brick self-assembly, short strands act as building blocks that interlock. Each DNA brick can bind to as many as four neighbouring strands. Two DNA bricks connect at a 90-degree angle to form a three-dimensional shape. Each strand is coded so it joins the others to form the desired structure.
That 90-degree angle describes how the strands connect. You can use bricks, plates or slopes to represent the shape they form. The physical model needs its own layout of parts, with connections that hold them together.
At BrickLab, we publish brick sculptures you can turn in 3D, with step-by-step manuals, parts listed for each step and a layer map showing where each part goes. These views help you build the model by hand. The parts list tells you what you need for each step. The placement map shows where each part belongs.
A molecular cube makes the scale clear
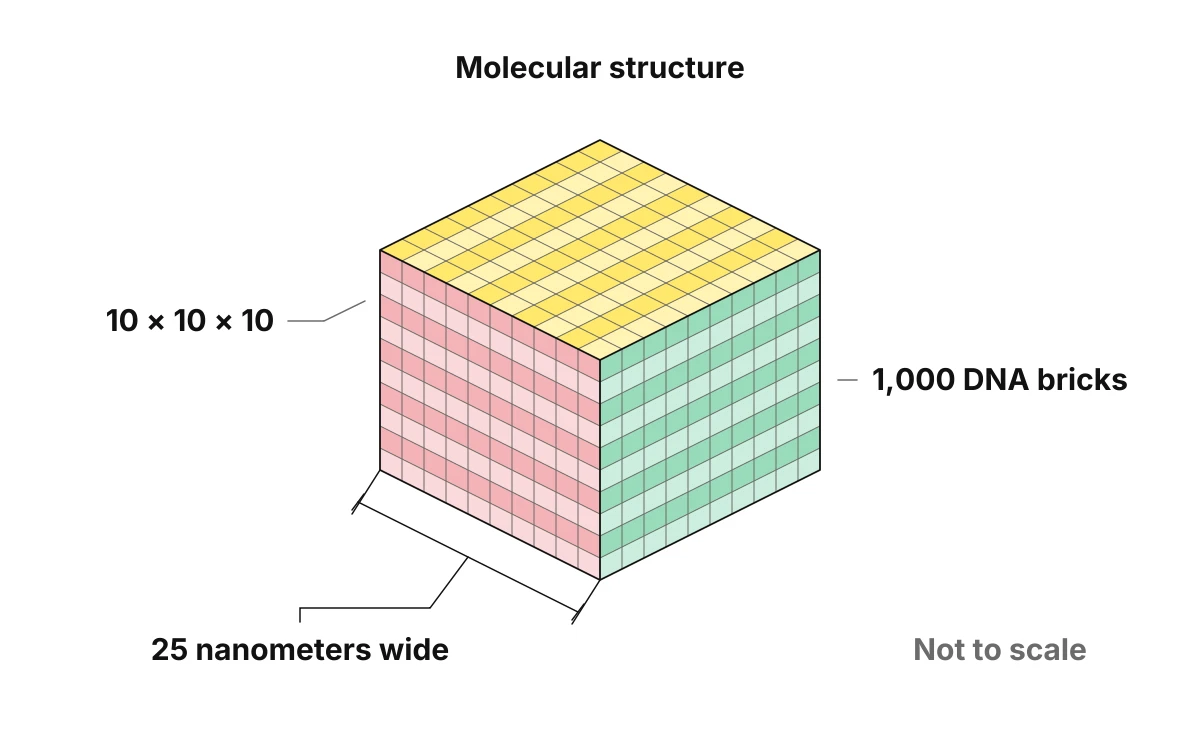
The documented example is a molecular cube: 1,000 DNA bricks arranged 10 by 10 by 10. It is just 25 nanometers wide, a unit used to measure very small things. These numbers describe the molecular structure. To build a physical version, you still need a parts list and a footprint in studs: the space it takes up on its base.
| Feature | Documented molecular example | Physical-model implication |
|---|---|---|
| Building blocks | DNA bricks form the molecular structure. | One molecular brick does not directly equal one standard building part. |
| Master canvas | A computer model of the molecular cube gives you the starting shape, called the master canvas. | You can use its overall shape as your subject. |
| Shape changes | You can add or remove each molecular brick on its own in the master canvas. | Decide which resulting shape your physical version should show. |
| Nanometers versus studs | The width measures the tiny molecular structure. | Choose your display size separately, measuring its base area in studs. |
The master canvas is a space for designing the shape by adding or removing molecular bricks. You can use that shape as the subject for your brick-built model. You still need to work out how to put the physical model together.
Check your model brief before choosing parts
Your DNA-themed MOC, or custom brick-built model, needs a clear subject and display size before you choose parts. A short plan gives you a way to judge which parts will fit:
- Name what you will show. For DNA itself, list the features you want a viewer to recognise. For a structure that uses bricks to show molecules, name the shape you intend to represent.
- Set the space your model will take up. Write down your planned height in centimetres and base size in studs, the bumps on bricks. These are your design targets, not the measurements of an existing model.
- Define what the parts represent. Describe the shape or layout you want people to see. Standard parts cannot be expected to copy how molecules bind together or arrange themselves.
- View possible parts in 3D so you can see their shape. Our BrickLab parts library shows every brick, plate, tile, slope and round part, with its details and the builds that use it. Comparing their sizes and shapes with your plan helps you choose parts before settling on a design.