
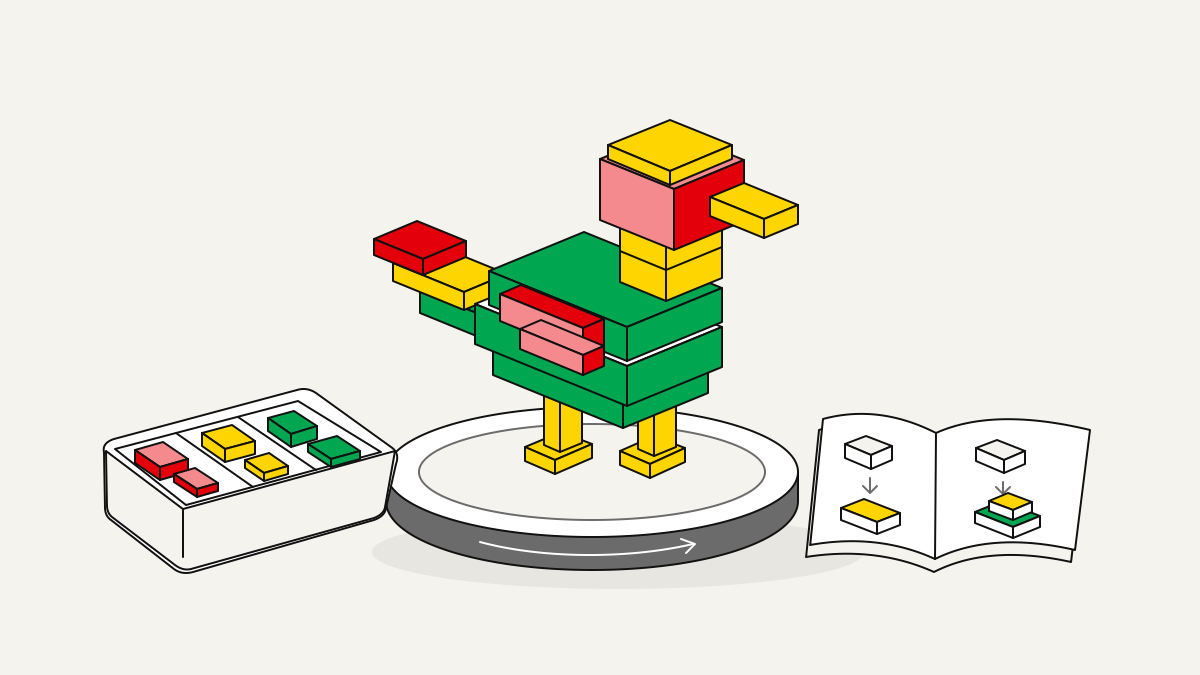
A brick sculpture is a three-dimensional form built from bricks. The brick-built models here use standard bricks, plates, tiles and slopes, assembled step by step. Each part’s position is checked against the model, including the pieces beneath the outside shape.
Individual parts come together to form the sculpture. Before you commit your parts to a real-part set, it helps to know what to inspect and what to prepare for the build. Rotatable 3D models, per-step parts lists and layer maps show how the placement of each piece contributes to the finished form.
How individual parts become a three-dimensional sculpture
The sculpture takes shape as you connect standard parts, one step at a time. Each addition changes its outline, so follow the assembly sequence rather than trying to copy the finished silhouette.
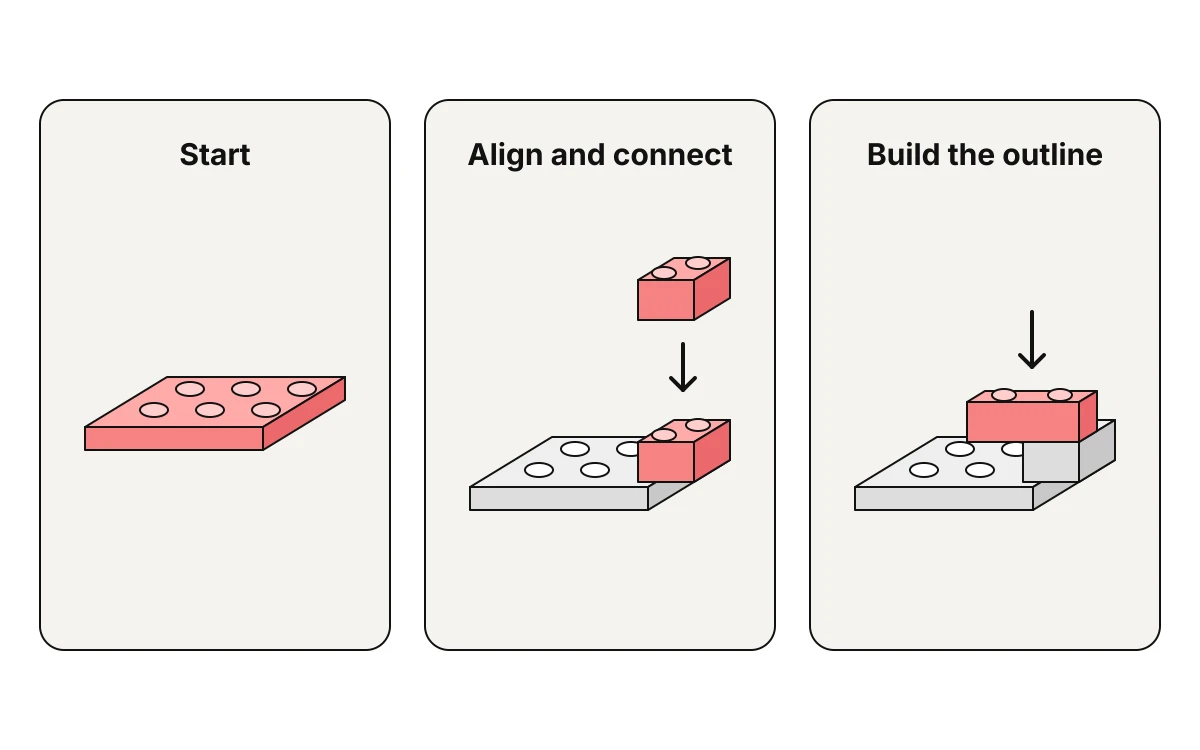
Check each piece’s orientation against the current step before later pieces cover its placement. A piece facing the wrong way can fit the studs yet put the shape in the wrong position.
At BrickLab, we provide a rotatable 3D model, a step-by-step manual, per-step parts lists and a layer map showing where each part goes. Together, these views help you work out the placement before adding pieces:
- The per-step parts list identifies the pieces needed for the current step. Keep these beside the build so you can match each one to its position.
- The layer map shows where each piece sits in the layer you are adding. Check its direction and how far it extends across the pieces below.
- Rotate the 3D model to see the placement from another side. A connection hidden behind the front face can become clearer from the back or an angled view.
Once the placement is clear, attach the pieces and compare the result with the current step. That comparison lets you check that the build matches the instructions while the connection is still visible, before another layer covers it.
Read a real-part set before committing your parts
BrickLab’s real-part sets are free to open and build. Before choosing a sculpture, compare its display-space and parts requirements with your shelf and stock.
Measure your shelf or display area against the model’s height and footprint. Allow enough room to place it and lift it out. The sculpture should also look good from the angles you will see on display.
Compare your stock with the model’s parts list, noting shortages by part and colour. This gives you a shopping list before you commit to the build.
BrickLab’s parts library shows every brick, plate (a thin part), tile (a smooth-topped part), slope (an angled part) and round (a rounded part) in 3D, with its details and the builds that use it. For an unfamiliar shape, compare the library view with the piece shown in the instructions. The part details help you confirm which piece you need.
Run this checklist before your next build
Before you start your chosen model, prepare your workspace and sort the parts:
- Similar shades are easier to distinguish during assembly when you keep them in labelled containers under your building light.
- Clear enough work surface for the growing sculpture, the instructions and the parts you are currently using.
- Set out staging containers to separate parts for upcoming steps from loose stock. Leave a clear place for assemblies awaiting attachment.